Set Up and Use Bixby - Samsung (Android 10.x)
Here's how to set up and use Bixby on your Samsung smartphone running Android 10.
- Bixby requires an active Samsung ID to be added to the Samsung device running on Android™.
- If the Samsung ID credentials can't be remembered, they can be retrieved or reset.
- Bixby Voice requires simplified view. If prompted, tap OK to continue using Bixby.
- Completion of initial setup is required to modify the Bixby key or Bixby Voice.
Bixby Setup
- From the Home screen, press theBixby buttonor swipe left to right to display the 'Bixby Home' screen.
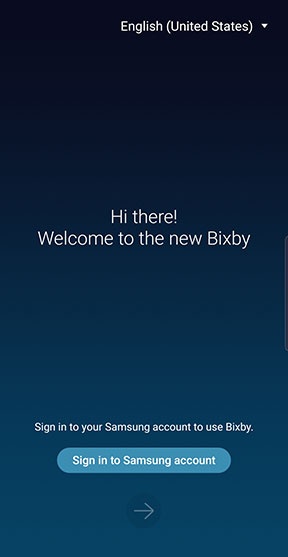
- From the 'Bixby Welcome' screen, select a language (upper-right) then tapSign in to Samsung account.
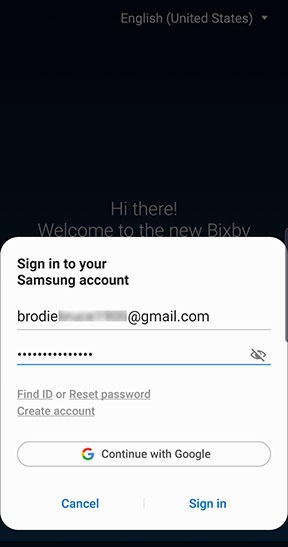
- From the 'Samsung Account' screen, enter the appropriate information then tapSign In.
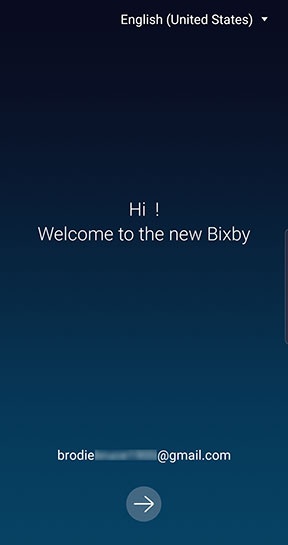
- From the 'Welcome to the new Bixby' screen, confirm the email address (bottom) is correct then tap theArrow icon.
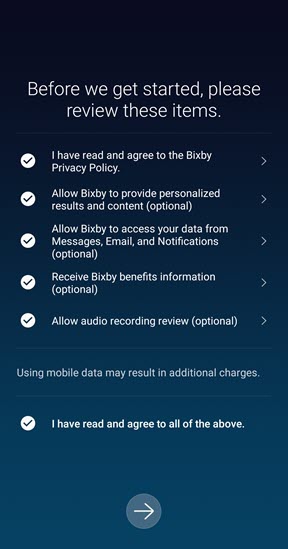
- To continue, review the Terms and Conditions then tap theArrow icon.
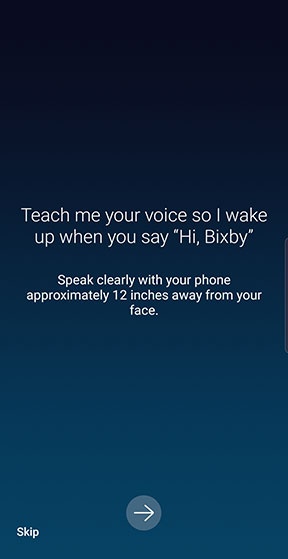
- From the 'Teach me your voice' screen, review the info then tap theArrow icon.
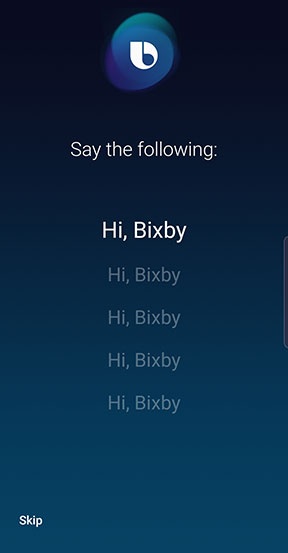
- From the 'Say the following' screen, speak "Hi, Bixby" until your voice is successfully captured 5 times.
- From the 'Great! You can talk to me anytime' screen, tap theCheckmark icon.

Bixby Voice
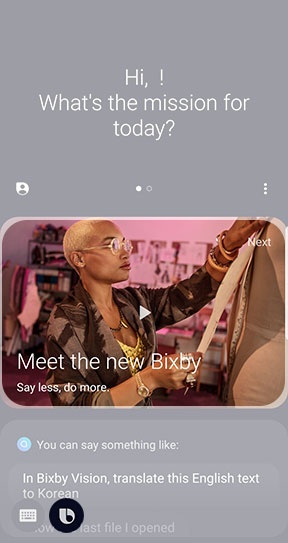
- From the Home screen, Scroll down to locate the Bixby Voice card then tap theBixby Voice icon(upper-left).Alternatively, press and hold theBixby buttonat any time to speak commands.
- Tap theto watch any of the How-to guides or tap theMenu iconTutorialsBixby Voice icon
(bottom) then say one of the recommended commands (i.e., What's the weather?).
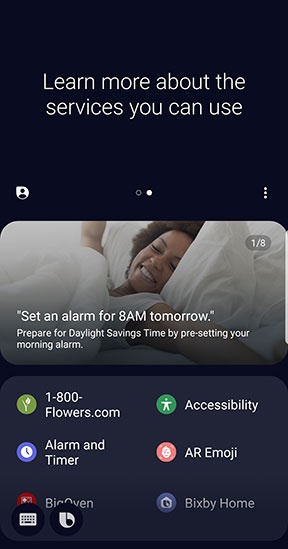
To watch more How-to guides tapNext(upper-right). - To learn more about services that work with Bixby, swipe right to left to view a list of available services.
Bixby Vision Setup
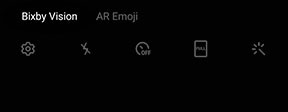
- From the Camera, tapBixby Vision(upper-left).If necessary, tapMore(lower-right) then tapBixby Vision.
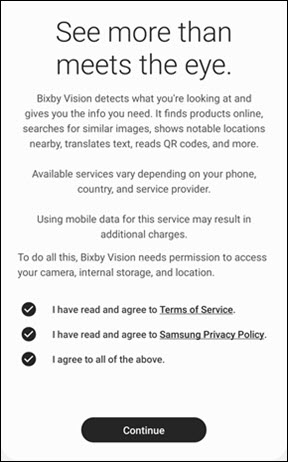
- To continue, review the information for Bixby Vision, tap (check) the appropriate checkboxes then tapNextto continue.
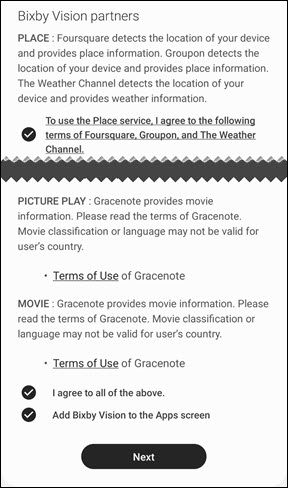
- To continue, review the terms and conditions for Vision partners, select (check) the appropriate checkboxes to agree then tapNext(bottom).SelectAdd Bixby Vision to the Apps screento create a Bixby Vision icon that can be used as an alternative method to open Bixby Vision.
- If prompted for permissions, tapAllowto continue setup.
Bixby Vision
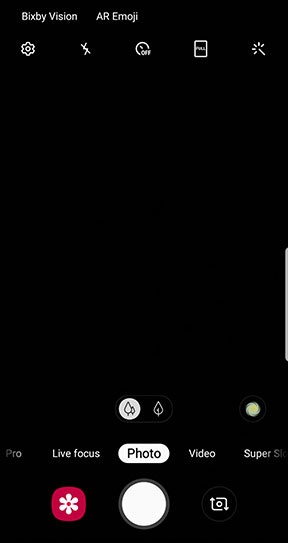
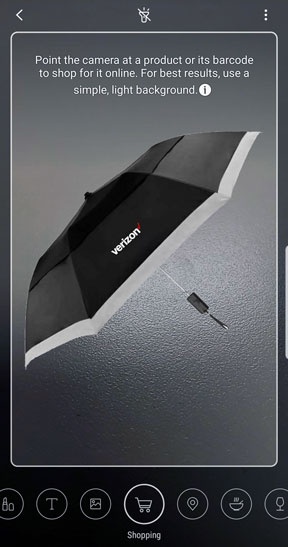
- From the Camera, tapBixby Vision(upper-left).Alternatively, tap theBixby Vision iconfrom the Home or App screen if applicable.
- From Bixby Vision, center the viewfinder on the image.
- Tap the appropriate category (e.g., Image, Place, Shopping, QR Code, Text, etc.) then follow the on-screen prompts.
Bixby Settings
- From the Home screen, swipe right to the 'Take a look' screen then tap theMenu icon
.
The image below is an example. - Select any of the following:
- Cards
- Select apps to show as cards on the Bixby Home screen (e.g., Calendar, Clock, Email, etc.).
- Tap the preferred app.
- Tap the switch on
or off
to display or remove cards from the Bixby screen.
Depending on the app additional options may be available. Tap the appropriate on or off switch as preferred. - Tap theBack Arrow icon
to return to the Bixby screen.
- Settings
- TapCustomization Serviceto view a list of supported apps.Customization Service personalizes your content by analyzing your info and how you use your phone.
- To remove an app from Customization Service tap theswitchto the right of the preferred app to turn off
- Tap theBack Arrow icon
- Tap theCustomization Service switchto turn on
- Tap theUse with Wi-Fi only switchto turn on or off.
- TapData Management.
- To select what information can be collected about you, tap the switch on or off for the following:
- Call/message history (Phone)
- Search data (Internet)
- Web address (Internet)
- Location (GPS)
- TapDownload personal datato view all the personal data Samsung has collected about you.Review the information then tapDownload.If prompted, enter your Samsung Account user name and password.
- TapErase personal datato erase the personal data Samsung has collected about you.Review the information then tapErase.If prompted, enter your Samsung Account user name and password.
- TapStop all customizationto discontinue use on all your device.
- TapStop customizationagain.
- TapConfirm.
- NoticesTap to view any available notices from Samsung.