Verizon Receiver (LV65) Install / Set Up 5G Home - Outdoor Rail Mount
Verizon Receiver (LV65)
Install / Set Up 5G Home - Outdoor Rail MountMounting your Verizon Receiver on an exterior railing helps ensure a clear line of sight to the 5G network for optimal signal strength and reliable internet speed.
Before you begin
Mounting for the 5G Internet Gateway is performed within the My Verizon app for Google™ Android™ and Apple® iOS.
Verizon is not responsible for damage to property caused by the installation process.
If you are uncomfortable with any part of this setup process, contact us.
While outdoor self-setup is possible for customers with advanced home maintenance skills, we recommend most customers schedule an appointment for professional outdoor setup.
Outdoor self-setup is an advanced installation and should only be attempted by customers who are experienced in mounting to the exterior of their homes. Failure to properly mount the Receiver may result in damage to the equipment or your home.
Steps
- Make sure to complete pairing and test for outdoor signal prior to mounting the Verizon Receiver (LV65).
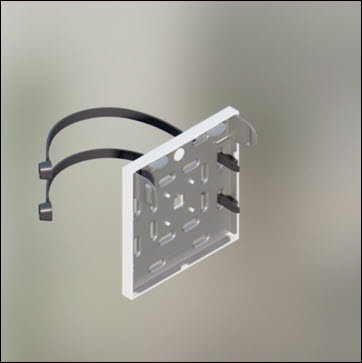
- Open the outdoor mounting box and remove the outdoor bracket, 2 railing ties, bracket shims, and pole adapter. TapContinue.Watch this video for a demo.
- Slide two railing ties through the outdoor bracket, holding the bracket so the arrow is pointing up. TapContinue.Watch this video for a demo.
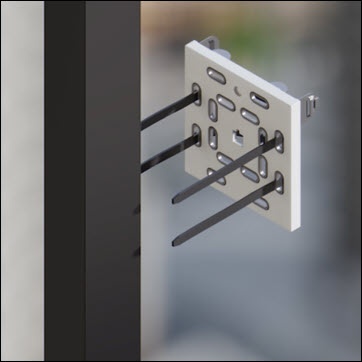
- Position the bracket on the outer side of the railing and make sure there’s room to attach the Receiver. TapContinue.Don't lean out windows or over a balcony/railing, and always keep both feet on the ground. The Receiver must be mounted below the roofline.
- Secure the railing ties and bracket to the outer side of the railing, make sure the railing ties are pulled tight against the railing then tapContinue.Use the pole adapter for additional support if your railing is round.Watch this video for a demo.Don't lean out windows or over a balcony/railing, and always keep both feet on the ground. The Receiver must be mounted below the roofline.
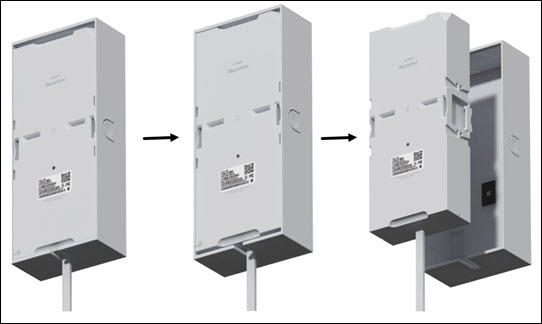
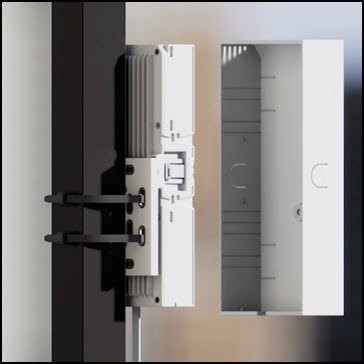
- To remove the Receiver cover; lightly push the device upward to disengage the cover lock. Once the lock is disengaged, pull the cover off. TapContinue.Watch this video for a demo.
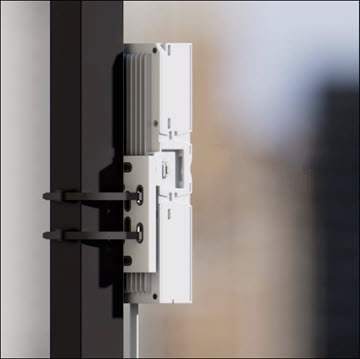
- Hold the Receiver so the words 'Verizon Receiver' are facing away from the railing. Align the slots on the Receiver to the bracket clips and click the Receiver into place. TapContinue.Watch this video for a demo.
- Insert the bracket shims towards the side of the Receiver that has the words 'Verizon Receiver'. The bracket shims should easily fit into place.TapContinue.Watch this video for a demo.
- Place the cover back on the Receiver. Lightly push the cover upward to engage the cover lock. TapContinue.Watch this video for a demo.
- Check the following then tapConfirm:
- The Receiver is mounted vertically and below the roofline/eave.
- It's securely attached to the bracket.
- It's displaying a solid white light.
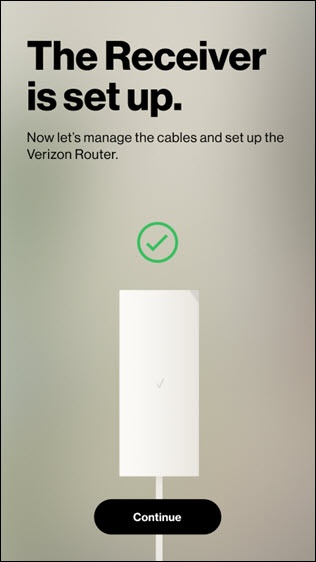
- Confirm 5G signal and internet are enabled. TapContinueto finish the setup.This may take up to 2 minutes.If prompted, sign in to My Verizon.
- Ensure you route and manage cables properly.