Transfer Content - Apple iPhone to Android
Here's how to transfer content (e.g., contacts, photos, videos, etc.) from your iPhone to a new device.
- Don't worry, we've got you covered. We'll make sure all of your pictures, contacts and content transfer from your Apple® iPhone® to your Android™ device without issue.
- If you're moving to a Samsung Galaxy device, Samsung Smart Switch™ is an easy way to transfer your content.
Contacts
- If you already have a Google™ / Gmail™ account on the iPhone, your contacts should automatically transfer to your new Android phoneIf you do not have a Google account, follow these directions to create one.
- Open theSettings app
.
- Navigate: .
- TapAdd Accountthen selectGoogle.
- TapMore optionsthen tapCreate account.
- Enter the account info (e.g., Name, Email, Password, etc.) then, if applicable, tapNex.
- Turn onContacts switch
then tap
Save.
- Upon activating the new Android phone, use the same Google account as the device's main account. This automatically syncs the contacts to your new device via Google.
Photos and Videos
The following steps are for iCloud® or Photos for iOS users; if you use other photo apps (e.g., Flickr®, Photobucket®, Dropbox® etc.), ensure you download and/or sign in to these on your Android phone.
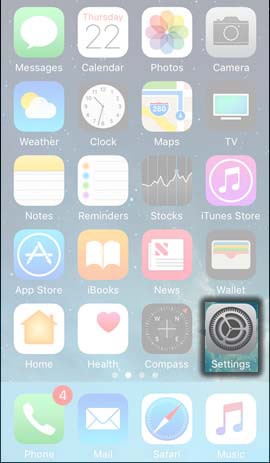
- If you use iCloud to back up your media, from the Home screen of your iPhone, tapSettings.If you do not use iCloud to back up your media or store your original photos on your phone, skip to step 13.
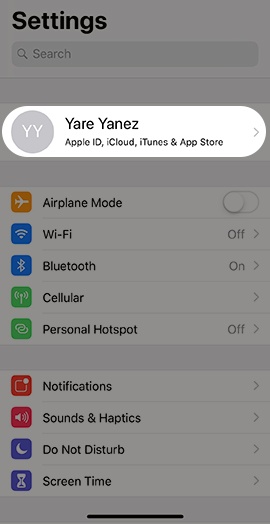
- Tap the Apple profile at the top of the Settings menu.
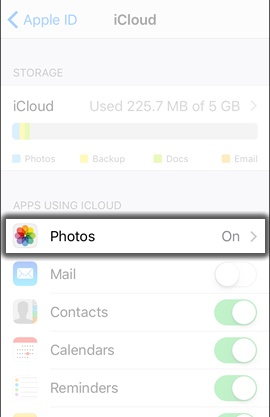
- TapiCloud.If prompted, enter the Apple ID and password then tapSign In.
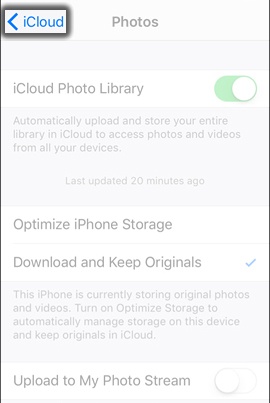
- TapPhotos.If you do not use iCloud to back up your media, skip to step 13.
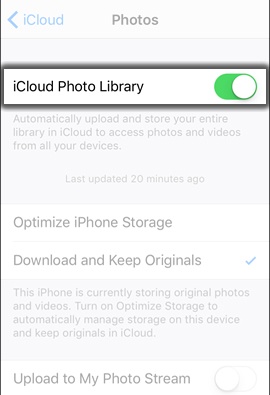
- TapiCloud Photo Libraryto turn on
- Tap theiCloud back arrow.
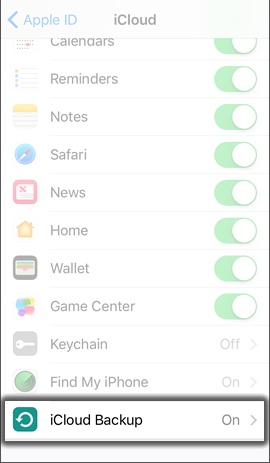
- TapiCloud Backup.
- Tap theiCloud Backup switchto turn onIf prompted, tapOK.
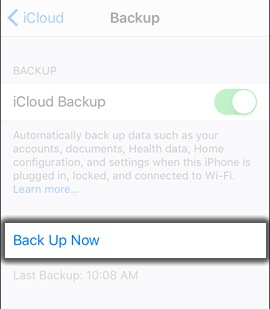
- TapBack-Up Nowto do a final sync with iCloud.A Wi-Fi connection is needed to start the backup. If not connected to Wi-Fi, follow the below instructions to turn on and continue:
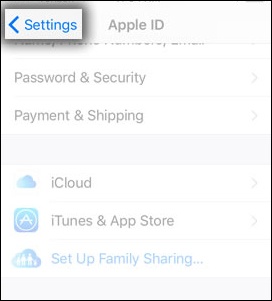
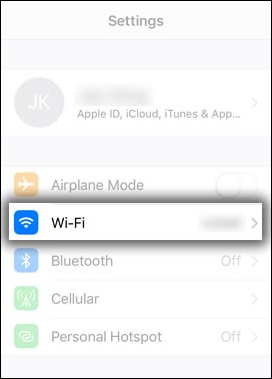
- To get back to the main settings menu, navigate: .
- TapWi-Fi.
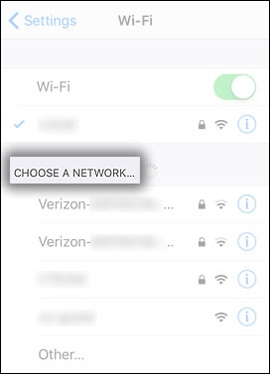
- Make sure the Wi-Fi switch is turned on
- From the 'Choose A Network' section, tap the preferred network.
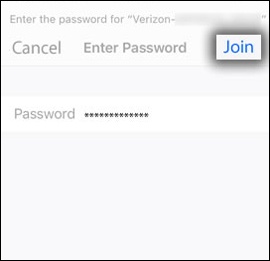
- If prompted, enter the appropriate password then tapJointhen press theHome key.
- From the computer, navigate to and sign in to your iCloud account.
- ClickPhotos.
- Select the pictures/videos to be moved to the computer and click theDownload iconthen skip to step 14.
- If you do not use iCloud for backing up media, create a folder for your pictures and videos on the computer and transfer the photos and videos via USB to the Windows computer.For Mac users, transfer info can be found here.
- Right-click on an empty space on the desktop and hover the mouse pointer overNewand clickFolderthen name it and clickEnter.
- With the iPhone plugged into the computer, open up File Explorer on the computer and click on the iPhone device name.
- On the computer, navigate: then select folder(s) (e.g., 100APPLE, 101APPLE, etc.).
- Right-click on the selected folder(s) then left-click Cut or Copy.
- Right-click the designated folder and clickPaste.
- Connect the Android phone to the computer and transfer the photos and videos to the device from the computer.
Music
The following steps are for iTunes; if you use other music apps (e.g., Spotify®, Amazon® Music, Shazam®, etc.), ensure you download and/or sign in to these on your Android phone.
- Connect your iPhone to your computer and verify your music is in iTunes on the computer.
- Based on the computer's operating system, locate your music files:
- Windows 7 or later (XP and Vista are not supported on iTunes 12.2 or later) - Open C:\Users\username\My Music\iTunes.
- Mac - From the Finder top menu, click:Go>Home>Music>iTunes.
- Transfer music via USB to the Android phone.For help with file compatibility issues, refer to this info to make it compatible with the Android device.